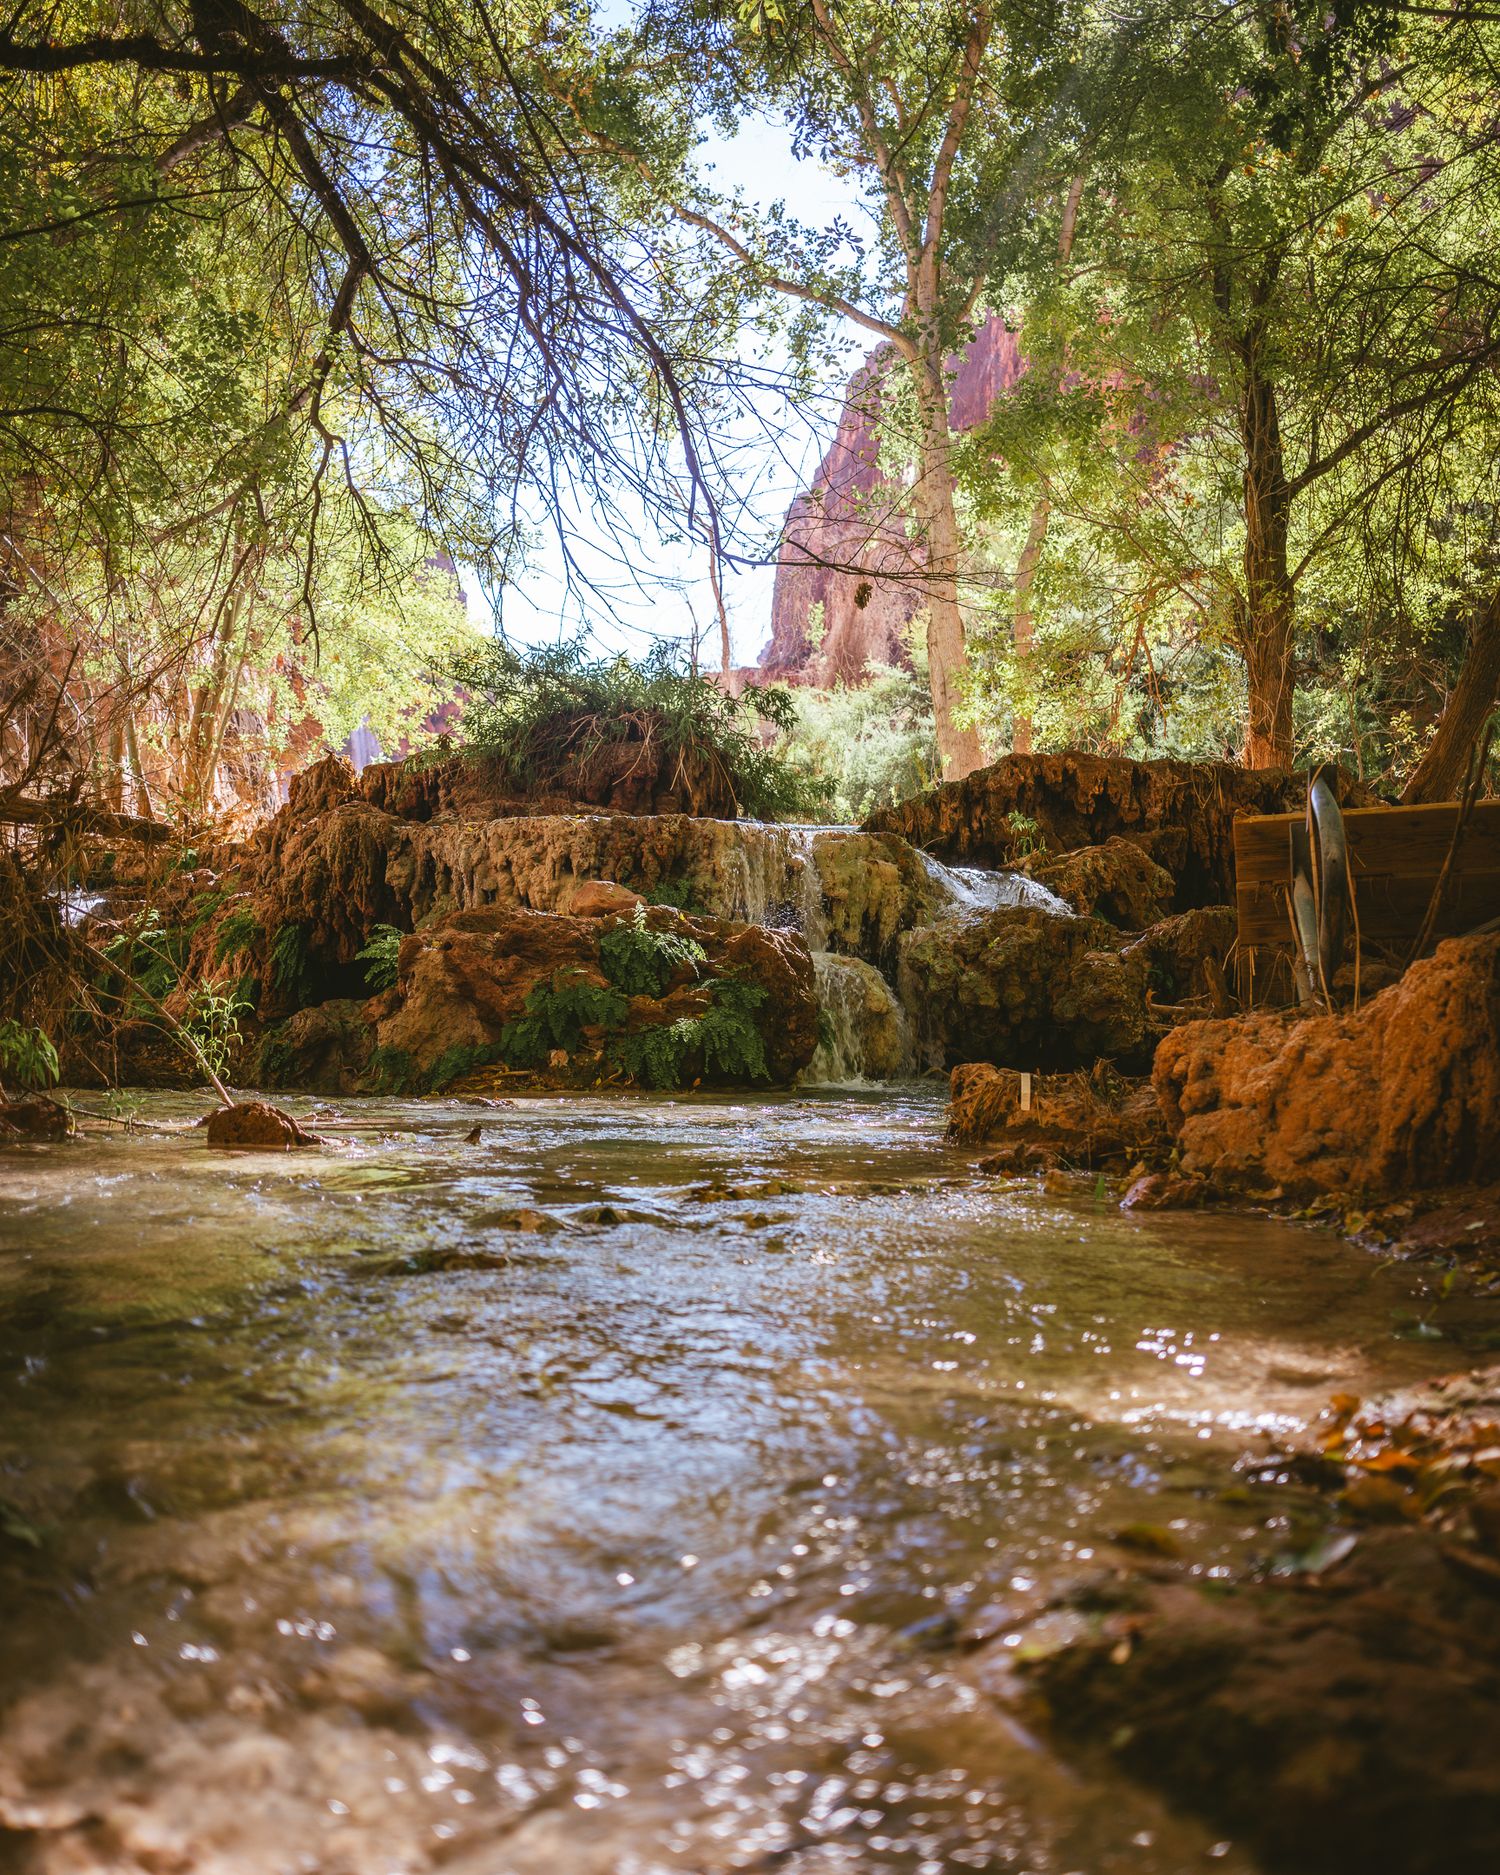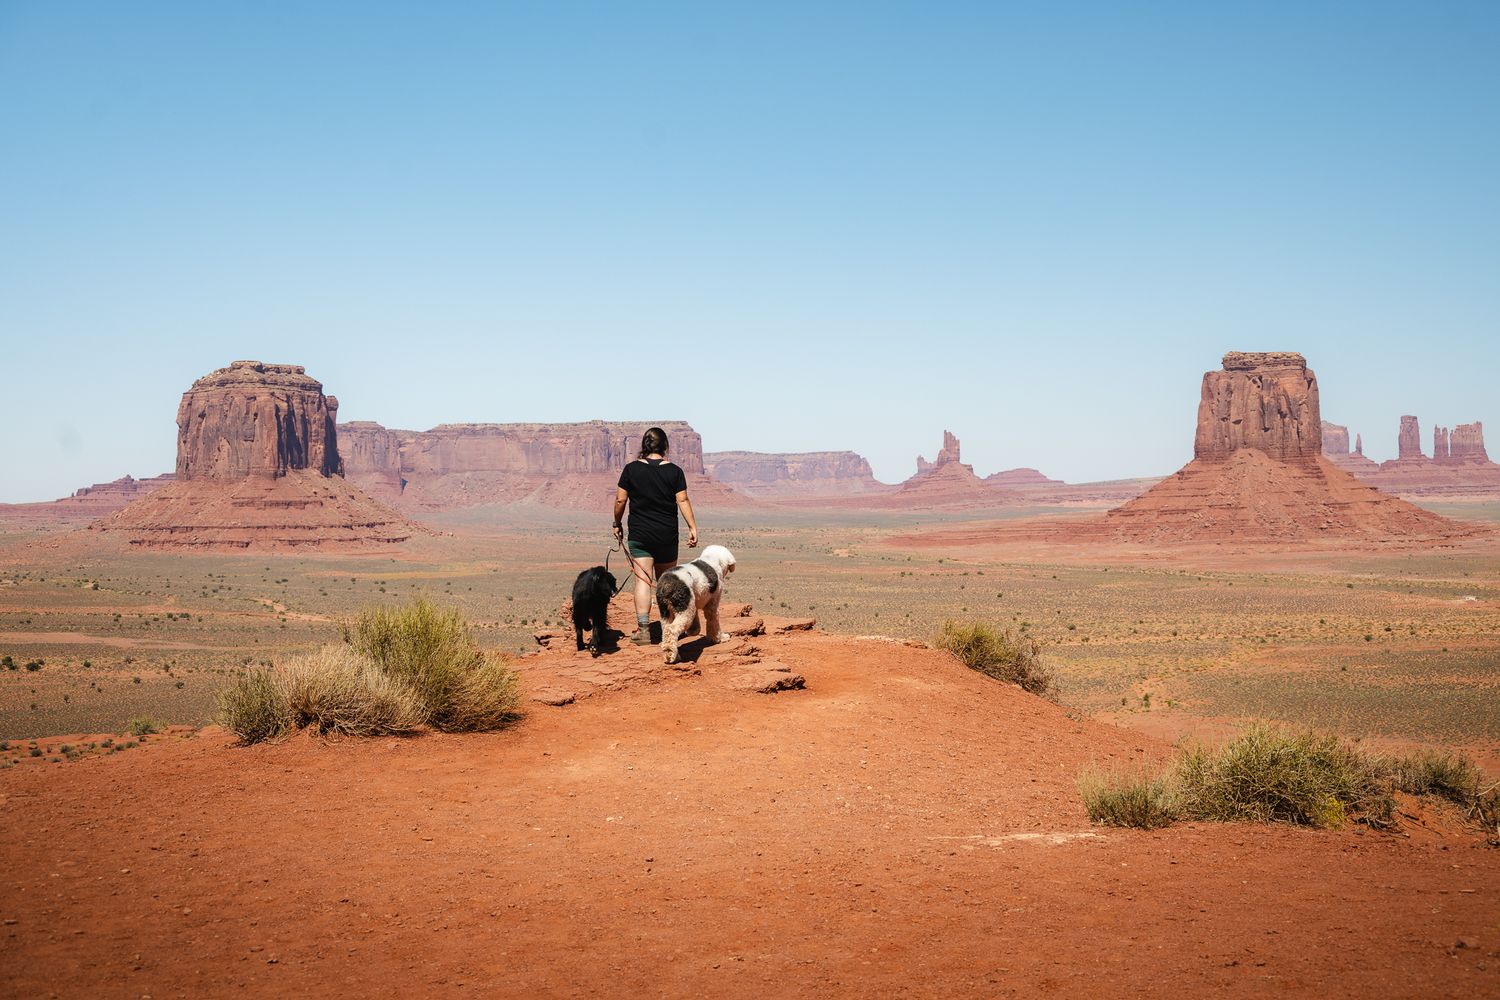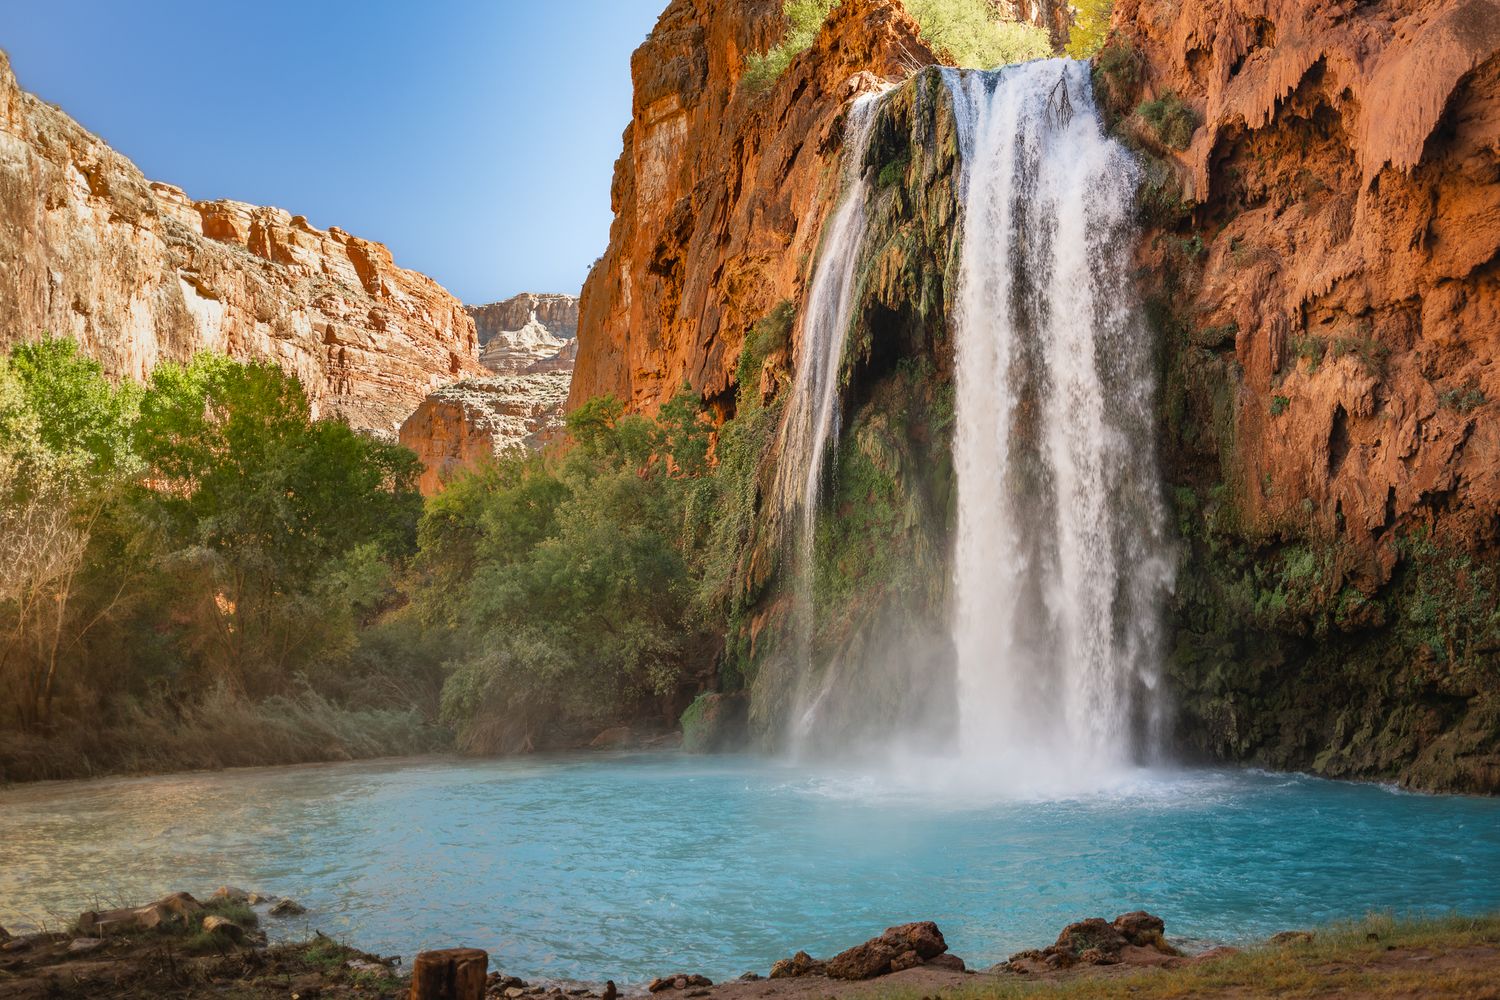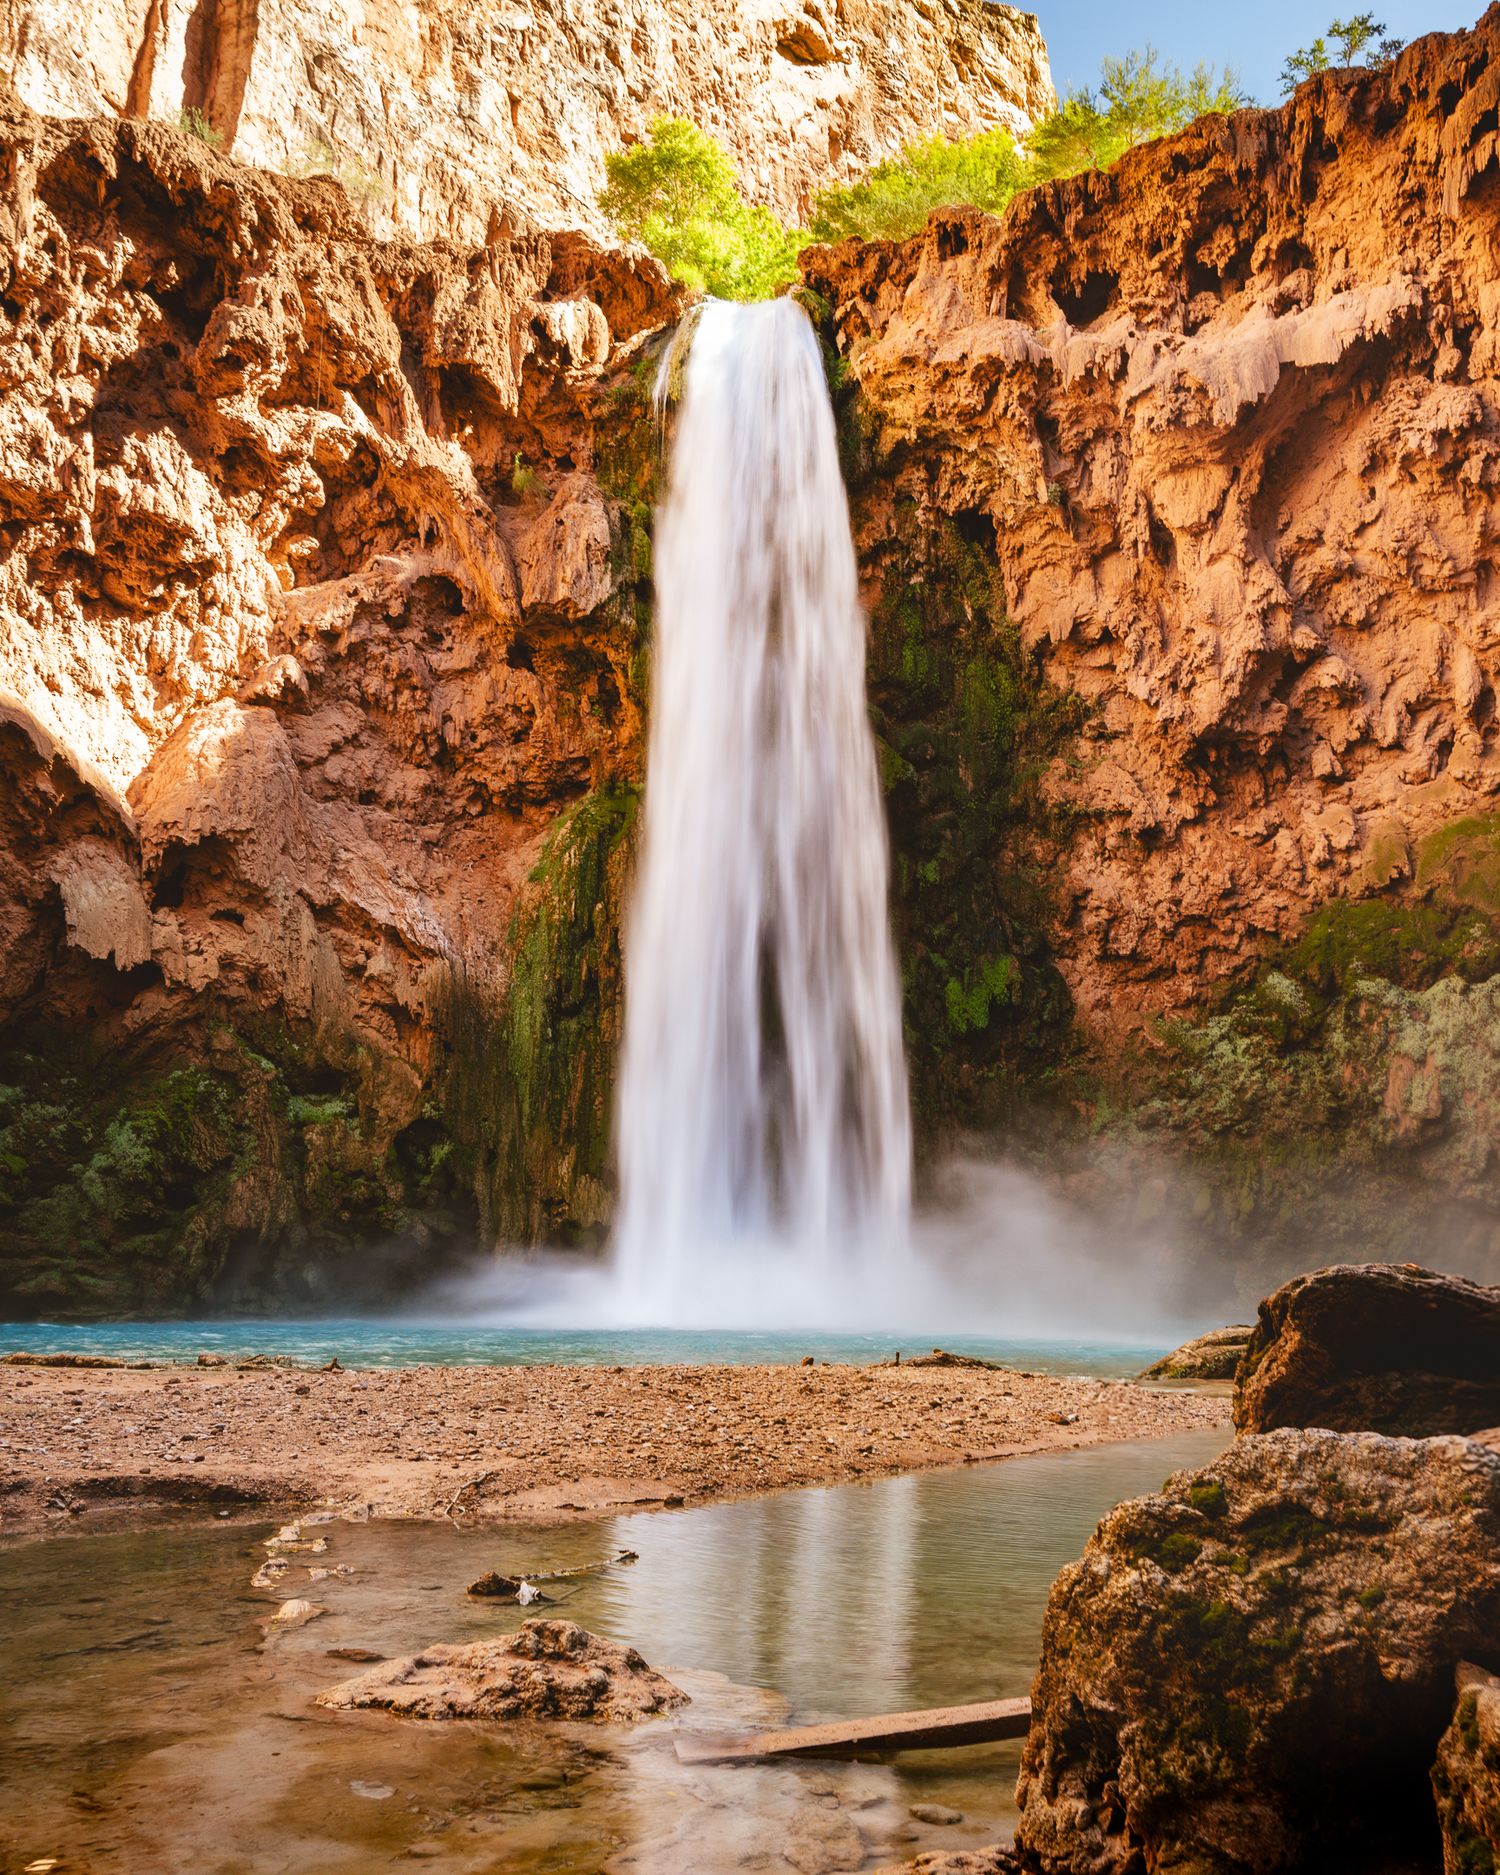
Havasupai is a dream destination for hikers, nature lovers, and photographers. But planning can be overwhelming! This year I was lucky enough to snag one of the sought after permits and spent four days soaking it all in. Here's some of the tips I learned that I hope might help you prepare for your adventure!
The Basics
Permit: Permits are $455/person (at least they were for 2024) to camp 4 days, 3 nights. They go on sale at havasupaireservations.com on February 1st and are first come first served.
Time of Year: As someone who lives in Arizona, I highly recommend you do not go in the summer months. The heat is no joke. People die every year from it. November is a wonderful time of year to visit if you want a more sparse campground. The temps were a little too cold to fully enjoy the water but for most of our stay we didn't see very many people and probably at least half the campsites were empty.
Check-in: You are allowed to check-in the day before or the day of your hike. I recommend checking in the day before so you can start as early as possible. Check-in is at the Grand Canyon Caverns Inn. I recommend getting a room there as soon as you get your permit. It's a great spot to stay the night before you hike.
The Hike
Distance: This can change depending on where you stop. Are you staying in the lodge or the campgrounds? How tired are you when you reach the campgrounds? From trailhead to our campsite was about 12-13 miles and we chose one of the last campsites possible. Over the course of the 4 days, we clocked around 50 miles, exploring the various waterfalls and visiting the village.
Hardest Part: The most difficult part of the hike is the very end where most of the elevation gain falls in the last 1.5 miles of the trek out. The rest of the hike is relatively flat although very rocky.
Mules: Don't hesitate to use a mule to carry your gear down or back up. It makes the hike more enjoyable and you're more likely to want to take detours and explore the area more. If you decide when you're already down there that you want a mule for the way out, you can book it at the tourism office in the village. Mules are $200 each way and can carry up to 4 32lb bags each.
Training: Even with the 2500+ft elevation gain, the hike itself isn't too difficult. The only way I prepped was by walking 4-6 miles each day with minimal elevation for a few months before my trip. The only thing I'd change is do more training with heavier weights on my back.
Camping
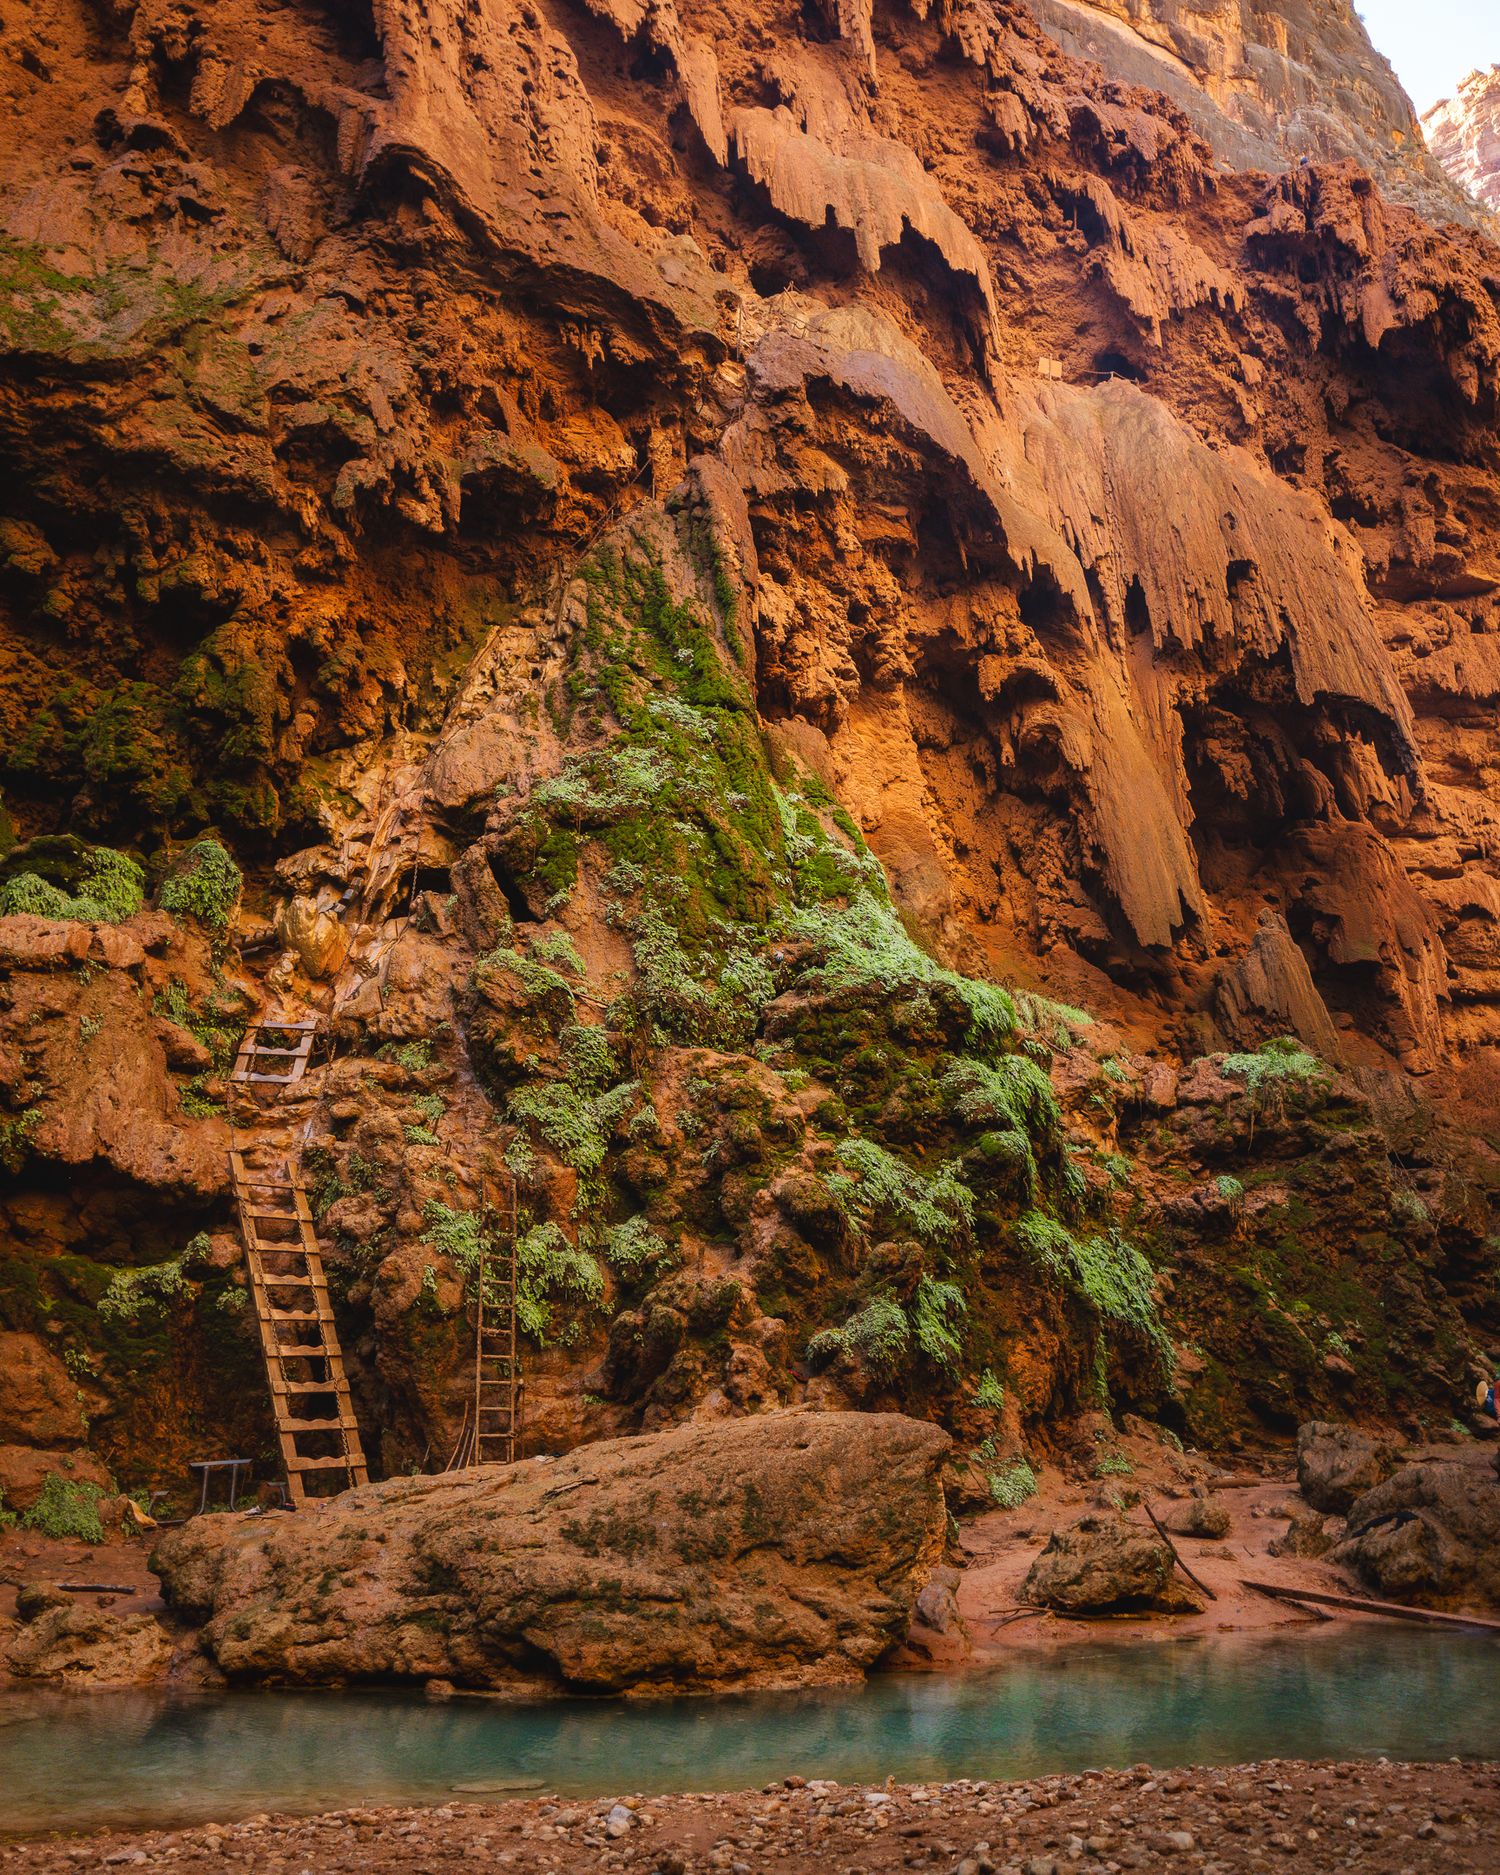
Strategy: On checkin, you get a colored wristband and tag that indicates your entry and exit days. You can use this to your advantage. If you figure out what color leaves the day after you arrive you can scout what campsite you want to switch to for your second and third nights. As for best locations, walk all the way to Mooney Falls. No matter how tired you are upon arrival, push forward for the best campsites.
Lodge vs Camping: While staying in the lodge may sound appealing, you miss out on the scenic views. From the lodge it's about a 2 mile hike for the views.
Campfires: If it's cold, ask the rangers if campfires are allowed. Though signage says no fires, with temps in the low 30s, it was cold enough that the rangers allowed them and in fact had one of their own. Most campers appreciated the extra warmth.
Safety: Tents cannot be pitched within 50 ft of the ledge overlooking Mooney Falls. We, along with others, were asked by rangers to relocate our tents.
Facilities: The composting toilets were clean and well-stocked with toilet paper. However, it is not always a guarantee they won't run out of toilet paper so it's a good idea to bring your own.
Extra tip: A camp chair is useful if you end up in a non-designated campsite. Designated campsites have picnic tables so an extra chair isn't necessary.
The Village
Flexible Hours: Stores don''t stick to the exact opening hours so be flexible with your plans.
Respect the Locals: The locals are all very nice so be kind in return. Follow the posted rules such as not taking pictures of the residents, horses, or buildings. This is their home and we are privileged they allow us to experience it. The one posted rule that was not enforced was the masks required in town. I only saw a few people wearing masks and we confirmed with the locals that it was not necessary.
Helicopter: If you need the helicopter to take you or your bags out, plan accordingly. The helicopter does not fly on Saturdays.
Photography
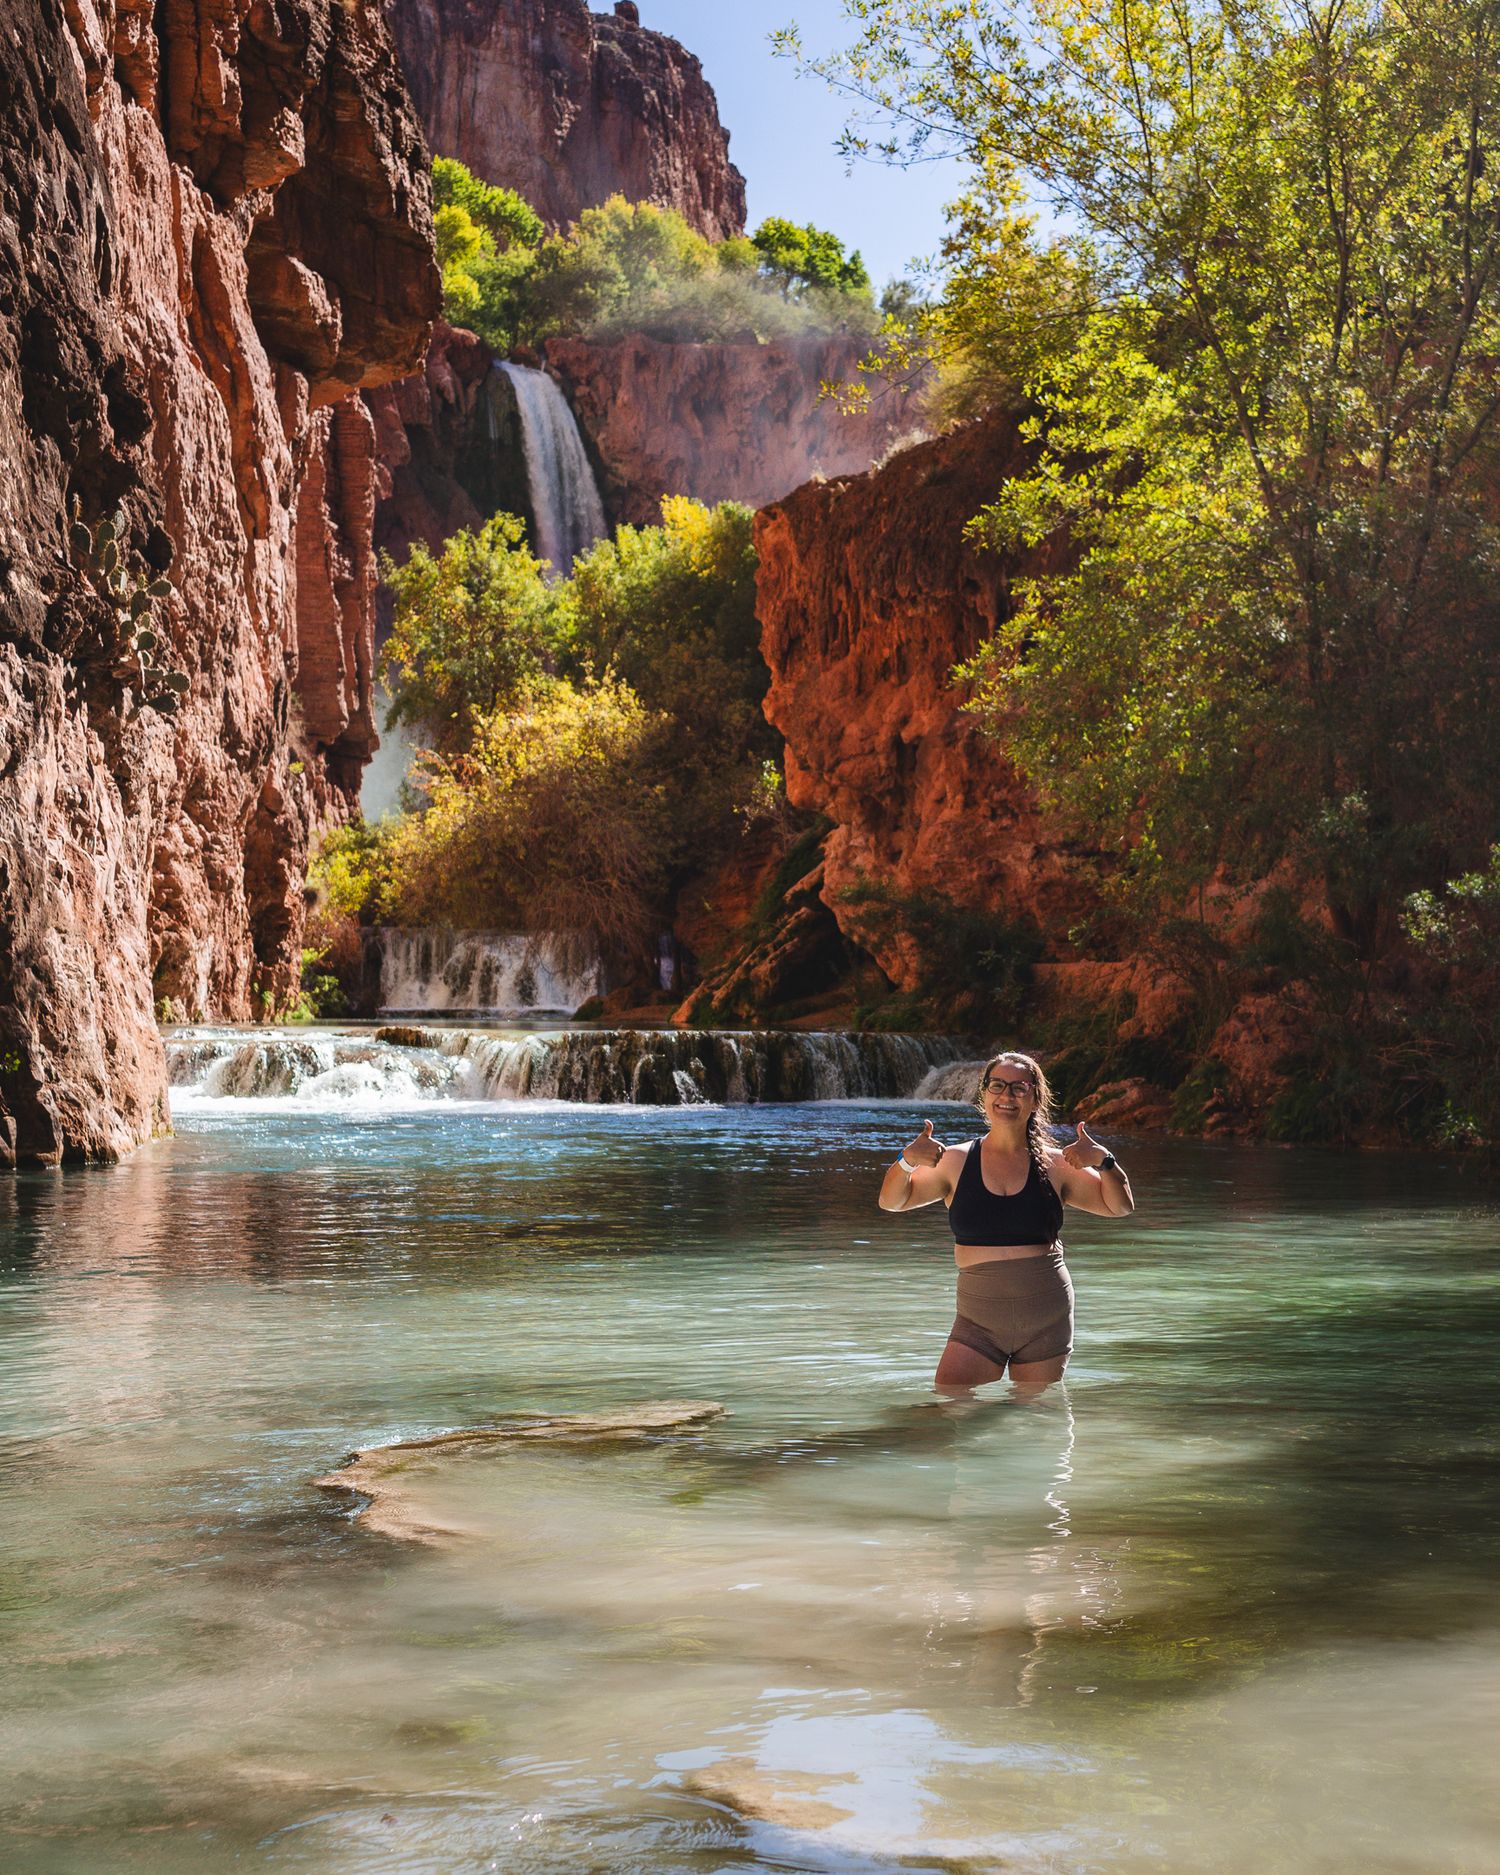
Gear: I'd recommend bringing a zoom lens and a tripod sturdy enough to hold that lens. I wish I had brought my 24-200mm lens instead of my 26mm lens.
Protection: For the trek to Beaver and further, pack a dry bag to keep your camera safe and dry, especially during creek crossings. The creek can be tricky with soft ground capturing your feet and there's a risk of losing your balance mid-crossing.
Additional Tips
Hiking Gear: Bring hiking poles. They are extremely useful on the steeper sections, especially with a heavy pack throwing off your balance. Even my dad who usually dislikes them used one. Bring a rainfly. Not only does it offer rain protection but should you decide to send your pack up on a mule, it protects your backpack from the rope.
Food: Invest in a rat sack to store and hang your food at camp. Though bear canisters are a great option, they are heavy and you don't need something that critter proof. Definitely bring something at least. My dad had some nuts stolen overnight and we saw the village dogs trying to swipe some food from tables as they passed through. Bring enough food for every meal. While there is a cafe in the village, it can be closed unexpectedly for various reasons so do not count on it.